How to Choose the Right Projector in 2026: A Step-by-Step Buying Guide
With dozens of new projectors launching every month — from budget Xiaomi Redmi models to flagship XGIMI and Hisense laser TVs — picking the right one can feel overwhelming. This guide breaks the decision down into eight simple steps, so you end up with a projector that actually fits your room, your budget, and how you’ll use it.
Step 1: Decide How Much Ambient Light Your Room Gets
This is the single biggest factor in picking a projector, and most buyers skip it.
- Fully dark room (blackout curtains, basement, dedicated theater): You can get away with 400–1,000 ISO lumens and still get a great picture.
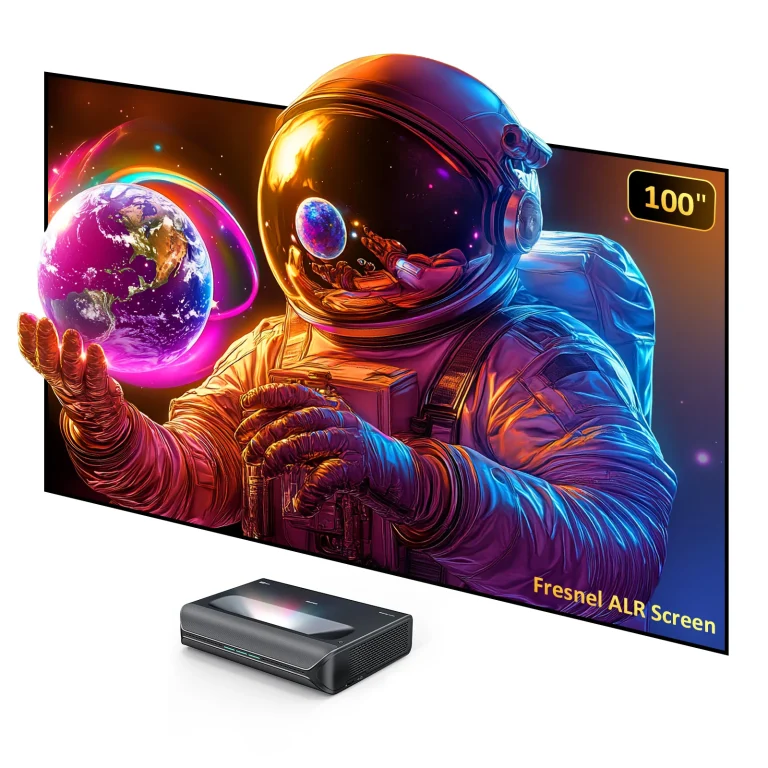
- Some ambient light (evening living room, curtains but not blackout): Look for 1,500–3,000 ISO lumens, or a UST projector paired with an ambient-light-rejecting (ALR) screen.
- Bright room or daytime use: You need 3,000+ ISO lumens, and even then, dim the room if you can — no projector fully beats direct sunlight.
Watch out for: brightness figures listed in “CVIA lumens” or unlabeled “Lumens” often read 20–40% higher than the ISO/ANSI figure for the same real-world brightness. When comparing two projectors, make sure you’re comparing the same measurement standard.
Step 2: Pick Your Throw Type
This determines where the projector physically sits relative to your screen.
- Long-throw: Sits several feet back from the screen (ceiling-mounted or on a shelf/table behind seating). Most affordable and widest selection.
- Short-throw: Sits just a foot or two from the screen — useful for smaller rooms where a long-throw won’t fit.
- Ultra-short-throw (UST): Sits directly beneath the screen, almost touching the wall. Best for rooms where you don’t want a projector mounted on the ceiling or a beam running through the room, but UST projectors and their matching ALR screens cost more.
Step 3: Match Resolution to Your Content
- 1080p: Fine for screens under 100 inches, casual movie nights, and budget setups.
- 4K (native or pixel-shifted): Worth it for screens 100+ inches, or if you already own a lot of 4K content. Pixel-shifted 4K (common on single-chip DLP projectors) looks very close to native 4K in real-world viewing.
- 8K: Still mostly marketing at this stage — very few 8K source formats exist, and true 8K projectors remain rare and expensive. Don’t pay a premium for it yet.
Step 4: Decide If You Need Gaming Features
If you’re connecting a console or gaming PC, check for:
- Low input lag (under 20ms in game mode is good; under 10ms is excellent)
- High refresh rate (120Hz support matters for fast-paced games)
- VRR (Variable Refresh Rate) — reduces screen tearing, still relatively rare on projectors
- ALLM (Auto Low Latency Mode) — automatically switches to game mode when your console turns on
Projectors without these specs listed at all usually aren’t built with gaming in mind — don’t assume “HDMI 2.1” alone means good gaming performance.
Step 5: Consider the Light Source
- LED: Cheapest, lowest brightness ceiling, longest lifespan, best for small budget/portable projectors.
- Single laser (blue laser + phosphor wheel): Brighter than LED, good mid-range option, can show minor color fringing on high-contrast edges.
- Dual laser (blue + red laser diodes): Wider color gamut than single laser, less fringing.
- RGB triple laser: The current premium standard — widest color gamut, best brightness-to-size ratio, but can show visible “laser speckle” on some content unless the projector includes anti-speckle/anti-rainbow-effect processing.
Step 6: Check the Smart Platform and Ports
Look for:
- A built-in smart TV platform (Google TV, Roku, or similar) if you don’t want to add a separate streaming stick
- At least one HDMI 2.1 port if you’re using it for gaming or 4K/120 content
- Bluetooth output, if you plan to use external speakers or headphones instead of the built-in sound
- A USB-A or USB-C port for media playback or powering a streaming stick
Step 7: Set a Realistic Budget Range
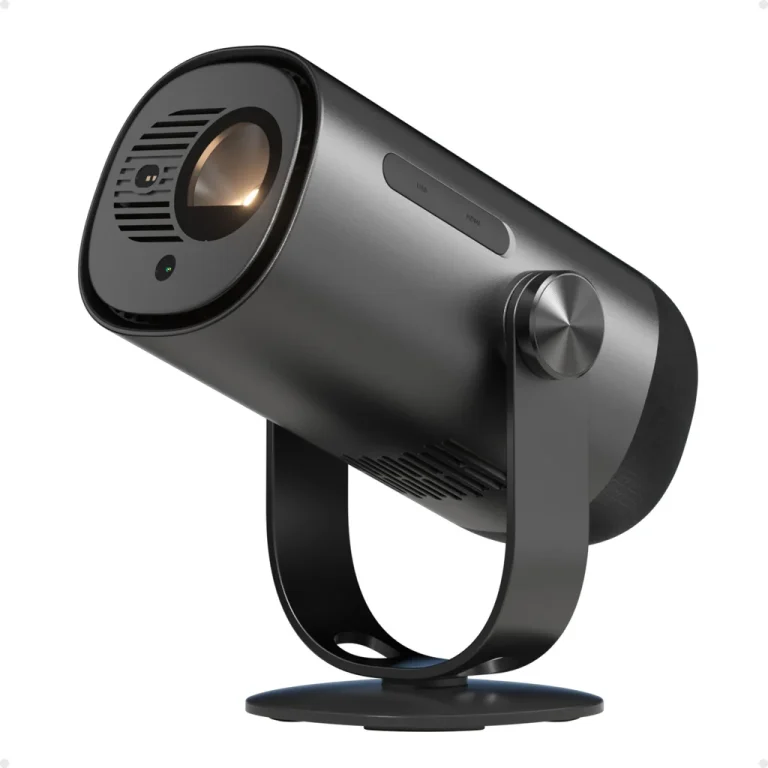
- Under $300: Solid 1080p portable and budget options (Xiaomi Redmi line, Wemax, budget Chinese brands)
- $500–$1,500: Where most mainstream 4K home projectors live (XGIMI, Dangbei, JMGO mid-range)
- $2,000–$5,000: Premium UST and laser home theater projectors (Hisense, AWOL Vision, Epson QS series)
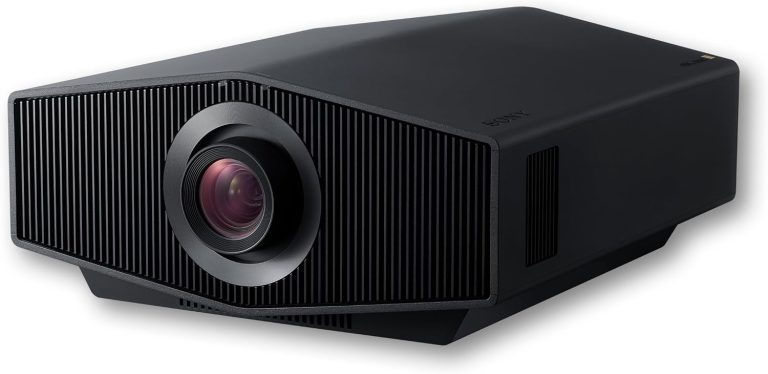
- $6,000+: Enthusiast and flagship home cinema (Sony, JVC, top-tier Epson)
Step 8: Read Independent Reviews Before You Buy
Manufacturer spec sheets are a starting point, not the final word — independent hands-on reviews will tell you how a projector actually performs in real rooms, whether the claimed brightness holds up, and how the smart platform feels day to day. Cross-check specs against at least one third-party review before committing, especially for brightness and contrast claims.
Quick Recap
- Match brightness to your room’s ambient light
- Pick long-throw, short-throw, or UST based on where it needs to sit
- Choose 1080p or 4K based on screen size and content
- Check gaming specs if that matters to you
- Understand what light source you’re getting (LED vs. laser types)
- Confirm smart platform and port selection
- Set your budget tier
- Verify claims against independent reviews